How to make a colourful watercolour planet
Create your own colourful watercolour planet with this step by step tutorial. You can relax and have fun by yourself or turn it into an activity with friends and family. Let’s get started!
You’ll need:
- water (abt 2 finger high is enough)
- watercolour (any kind/colour you have)
- watercolour paper (I’m using 300g cold pressed paper)
- brushes (I’m using round, flat and wash brushes)
Also:
- tape
- pencil
- paper towels
- silver acrylic paint (optional)
Step1: Prepare your materials and workspace. You might want to paint on a surface that is easy to clean. Tape the paper on all sides so it doesn’t buckle. Mix 3 of your favourite colours with a bit of water. Keep one cup of water clean.
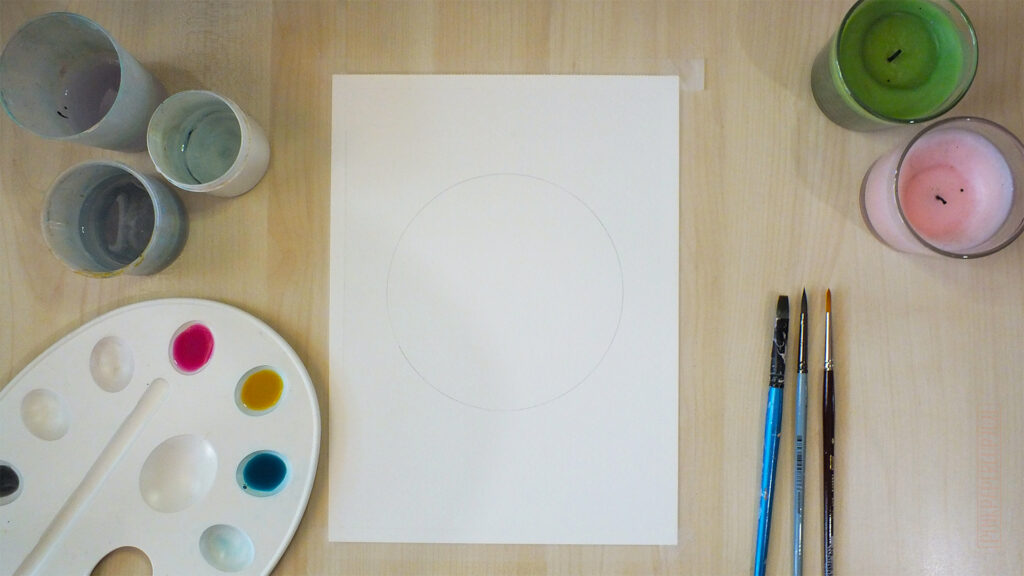
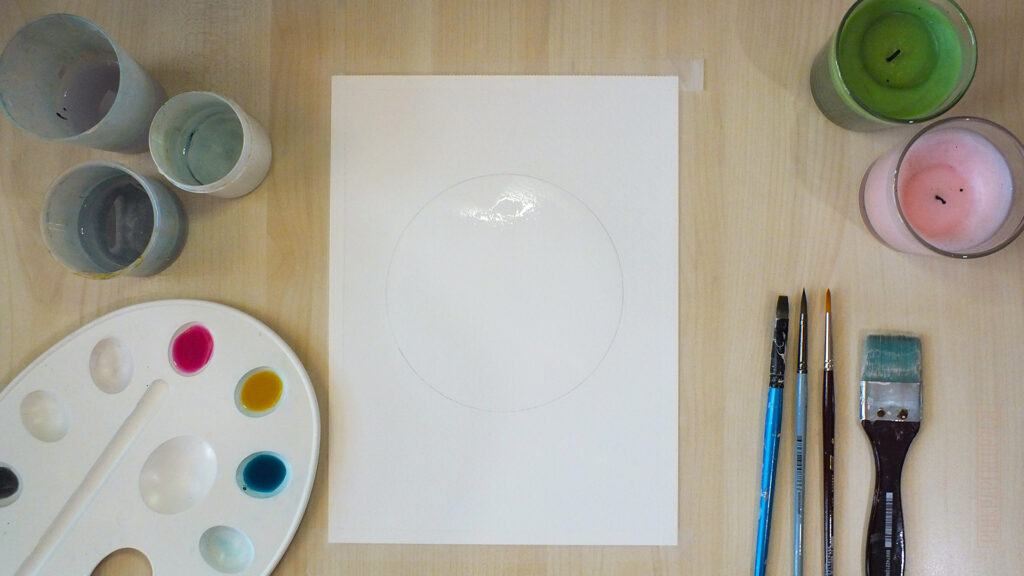
Step2: Lightly draw a circle. You can trace your favourite bowl or go free hand. Then wash your circle with a wash brush or a flat brush of your choice.
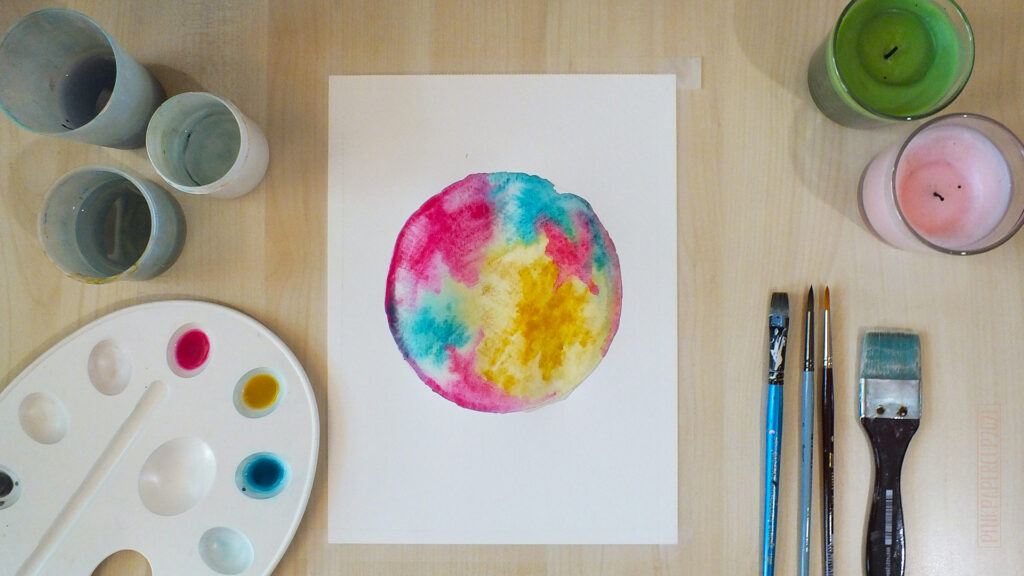
Step3: Create a soft background with watered down colours, then add drops of your colous around your circle as you like. I’m using a flat brush because that’s my favourite, using a round brush might be easier or you can use whatever you have.
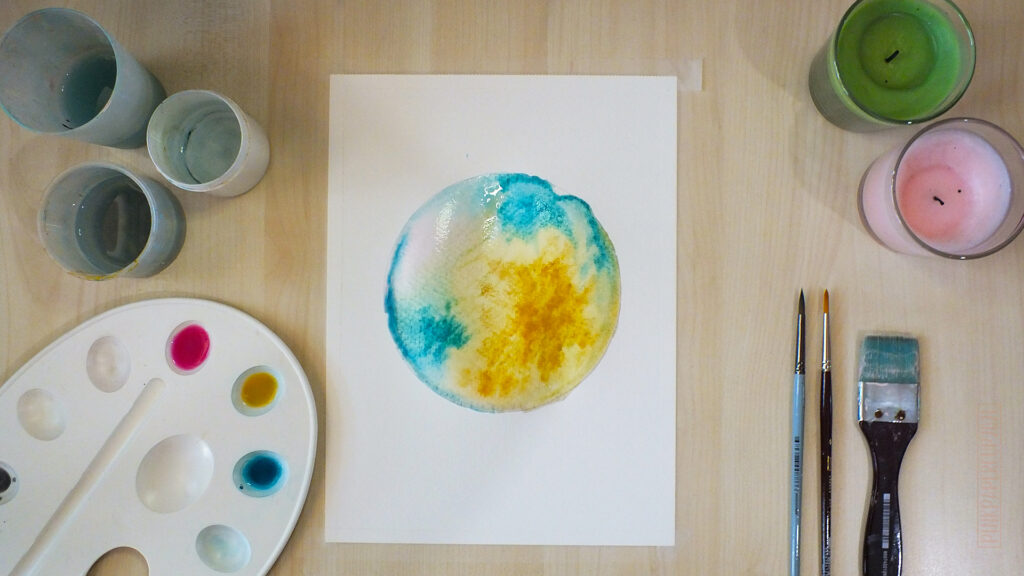
Step4: For the darkest parts I’m using the paint straight from the pan. You can add your drops however you want and let them spread but be mindful of the space between the colours and whether you want them to blend together or not. If you want to lift some of the colour you can gently use a paper towel.

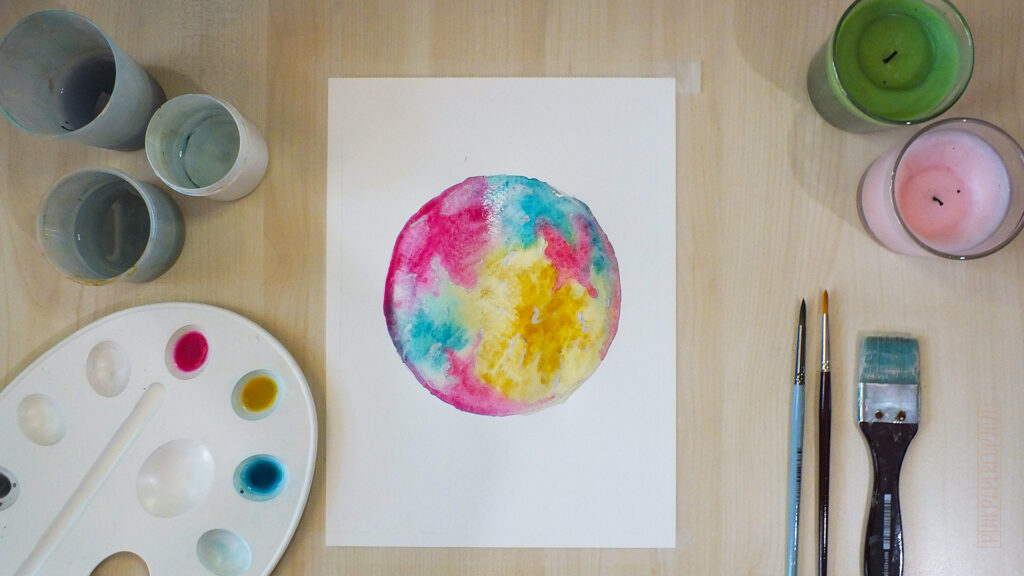
Step5: Remember that this is your planet and it can be however you want it to be. But don’t over do it. When you feel satisfied with, let it dry.
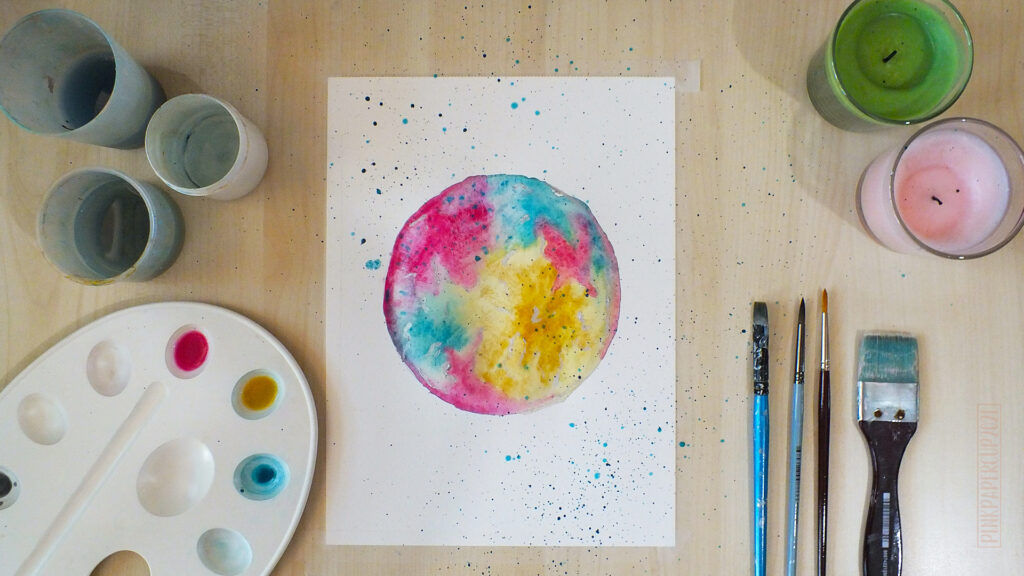
Step6: This step is optional. I draw random lines around the shapes with silver acrylic paint because I think it looks cool.
Step7: You can also splatter some paint on your paper. Wait for it to dry then take off your masking tape. Your planet is ready to be displayed!
I hope you enjoyed this tutorial. See you next time!